


Introduction
Say Hello to Kelvin Data, an API powered by data from 1.5 Billion people that lets you leverage a massive database of people
There are a ton of ways people-driven data can power applications from actionable analytics to fraud detection, user engagement, customer relationship management and a lot more, the possibilities are endless.
For the purpose of this blog post, we'll be going through some potential use-cases of Kelvin Data, we will be using emails as the data point for this inquiry.
Emails tie a lot to our online identities; we use them for communication, filling in form data, platform authentication, and so much more. Here are some possible use-cases:
You could be a hiring manager and you want to know more about a potential candidate but they provided minimal information about themselves in their application, wouldn't it be convenient if you could get to know more about them through the way they interact online.
You might host a community and you would like to reach out to your users on a personal level, using their social media could be a good idea.
Alternatively, you might want to grow your audience in a more natural way than spamming ads, a good solution to this would be to use existing users socials and push the brand to their friends, after all, we attract similar minds.
What we will be building
We are going to create a simple UI using ReactJs to simulate the pulling of data only given an email to showcase the insights from the API.
Here are the pre-requisites :
Basic Knowlege of React
Kelvin Data Account.
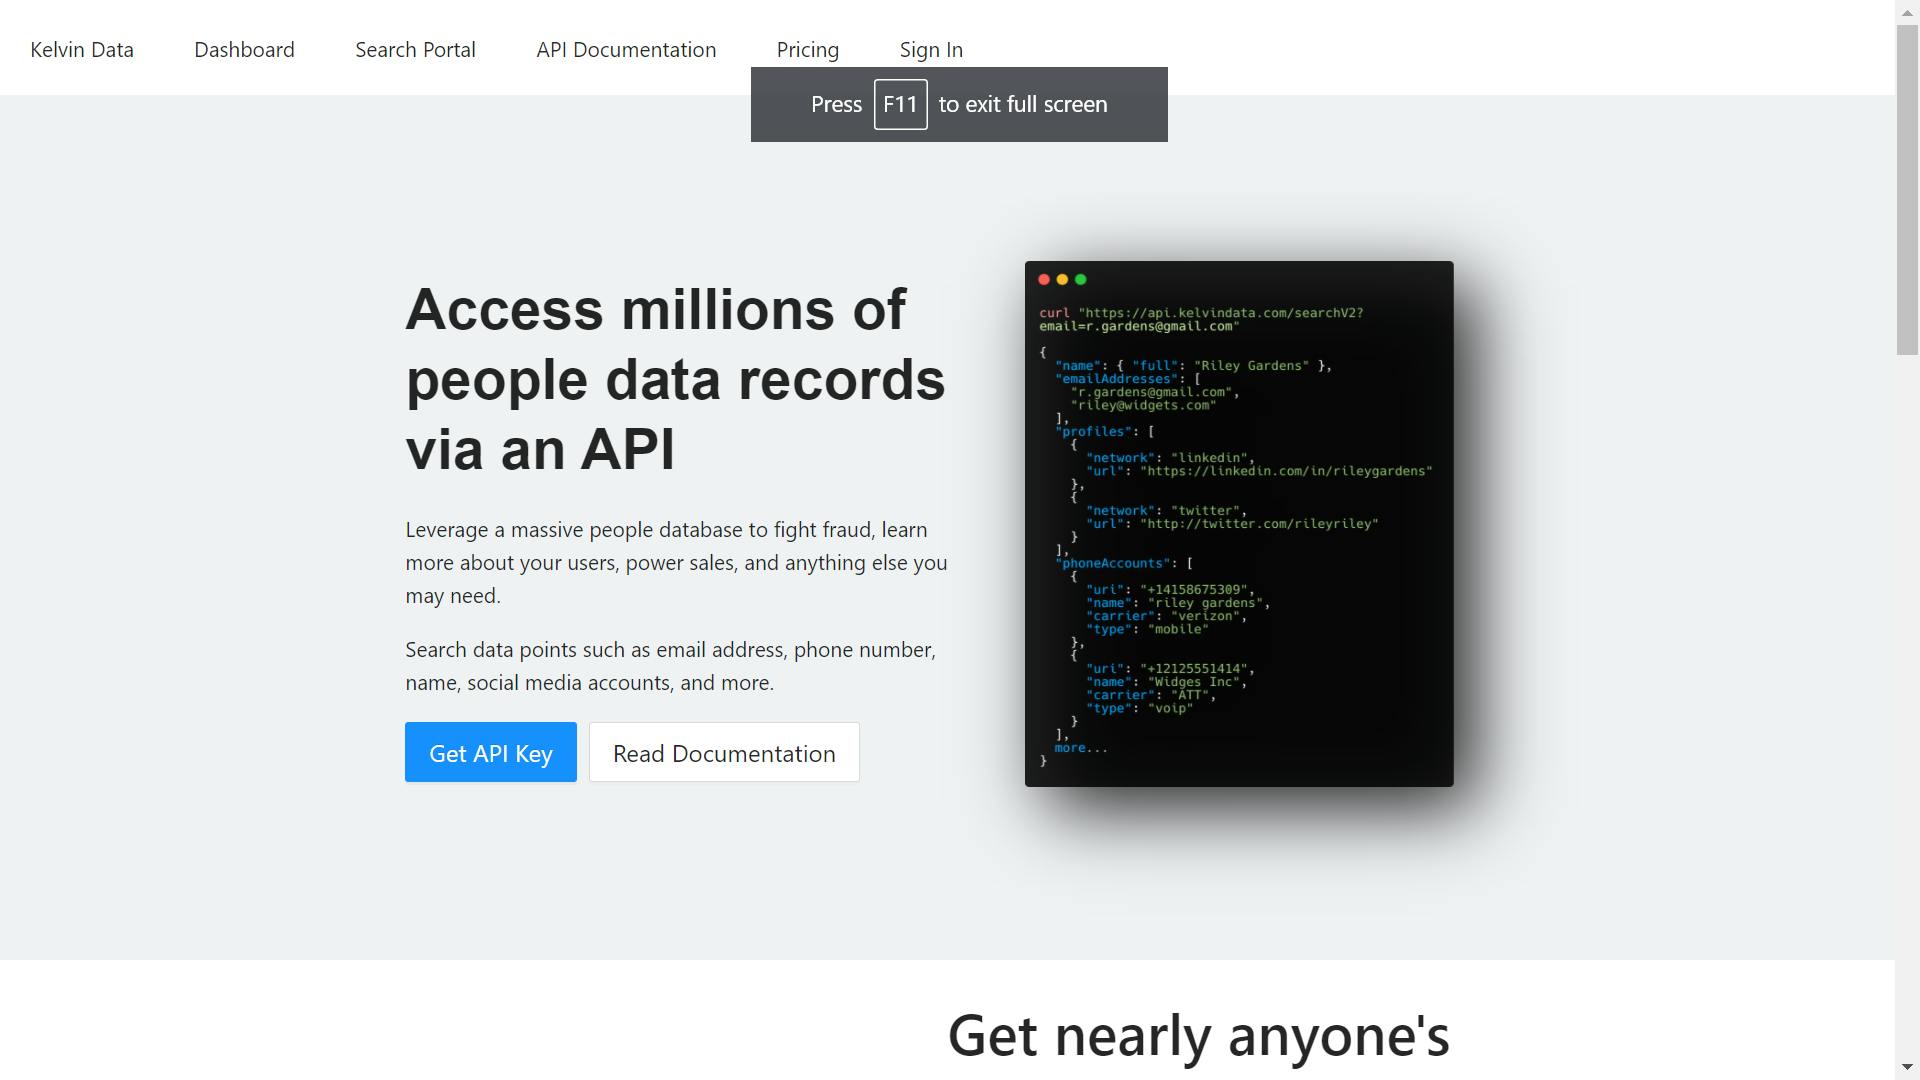
Step 1: Get Kelvin Data Account
Go to the Site and click get an API Key:
Once Signed in, you can easily get the key from the dashboard and carry out your tasks
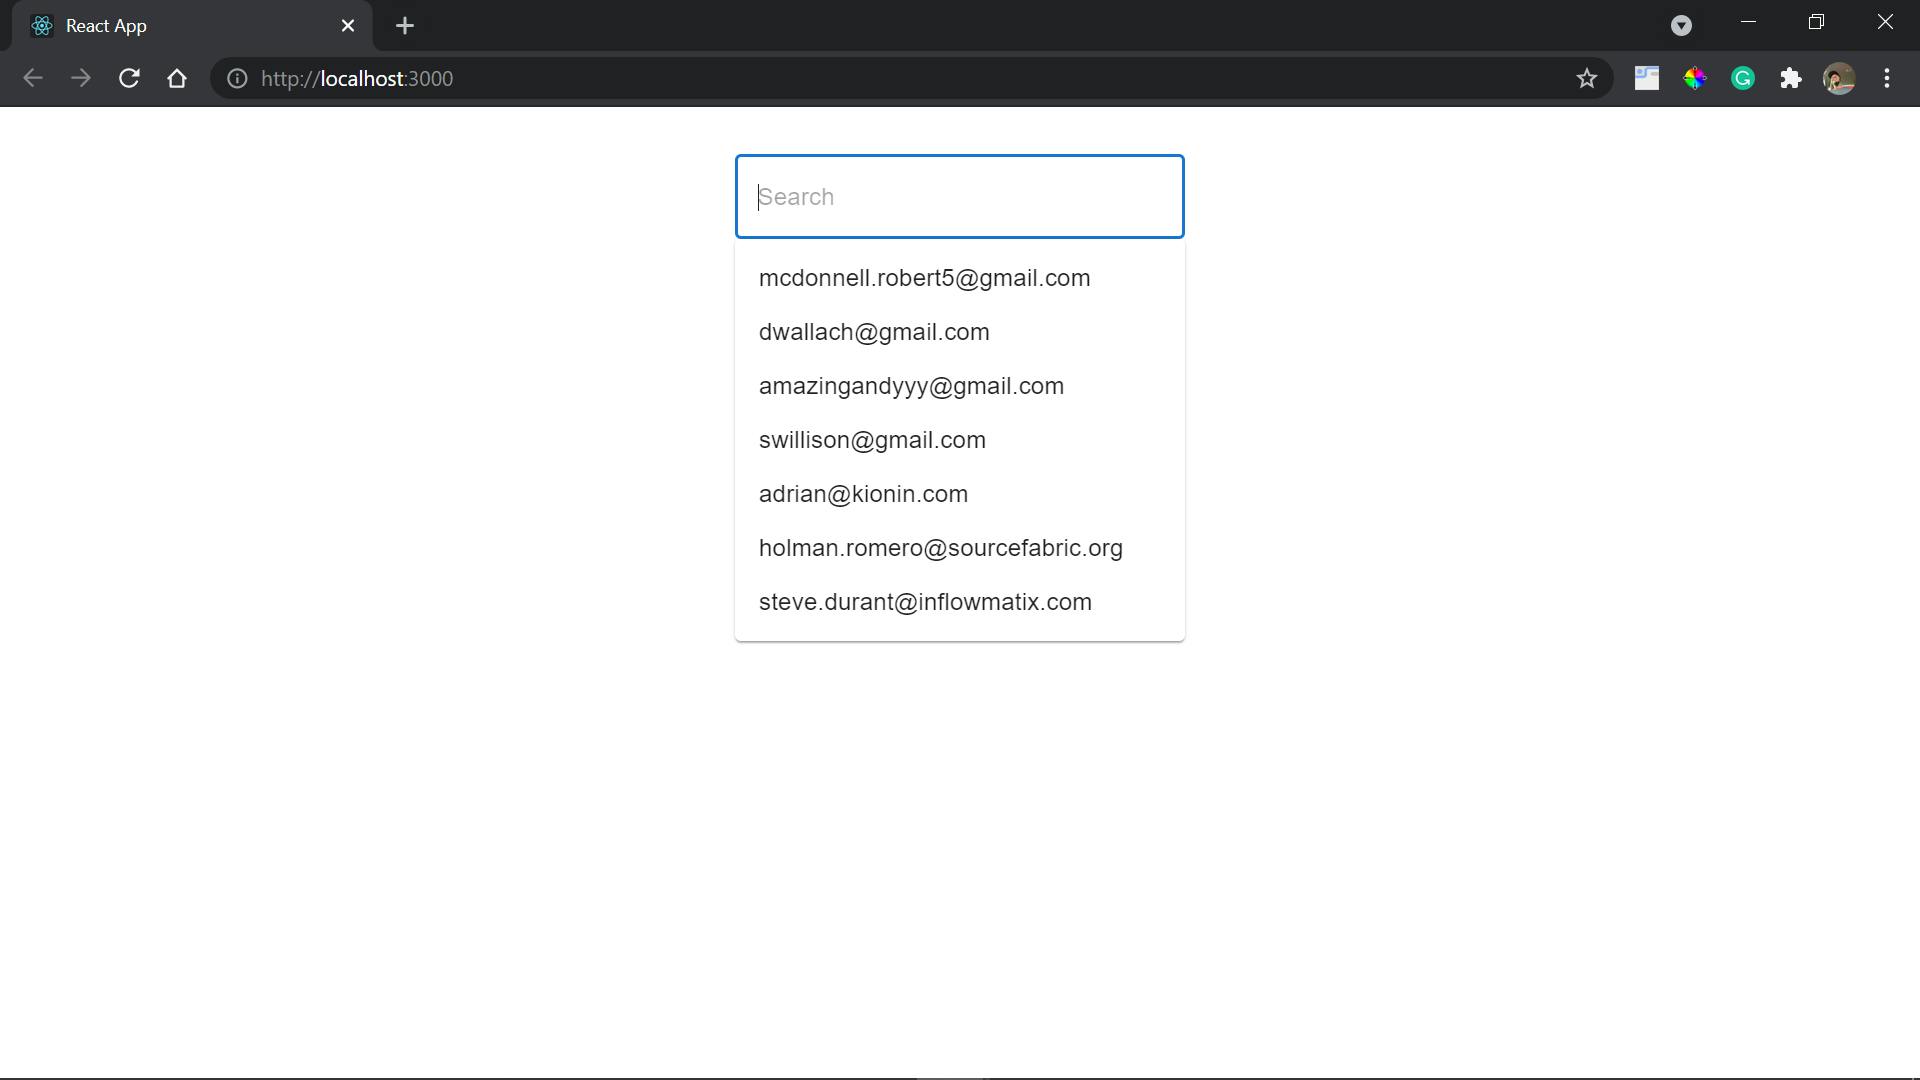
Step 2: Make the UI
TLDR: github.com/arndom/k-data-intro
First of we create an environment variable to store the key and implement a filter search bar

import * as React from 'react';
import TextField from '@mui/material/TextField';
import Autocomplete from '@mui/material/Autocomplete';

export default function Filter({cb, options}) {

    const handleInputChange= (event, value) => {
        event.persist();
        cb(event, value)
    }

  return (
    <div style = {{width: 300, marginBottom: "1rem"}}>
      <Autocomplete
        freeSolo
        id="free-solo-2-demo"
        disableClearable
        options={options.map((option) => option.email)}
        onInputChange={handleInputChange}
        renderInput={(params) => (
          <TextField
            {...params}
            placeholder="Search"
            InputProps={{
              ...params.InputProps,
              type: 'search',
            }}
          />
        )}
      />
    </div>
  );
}
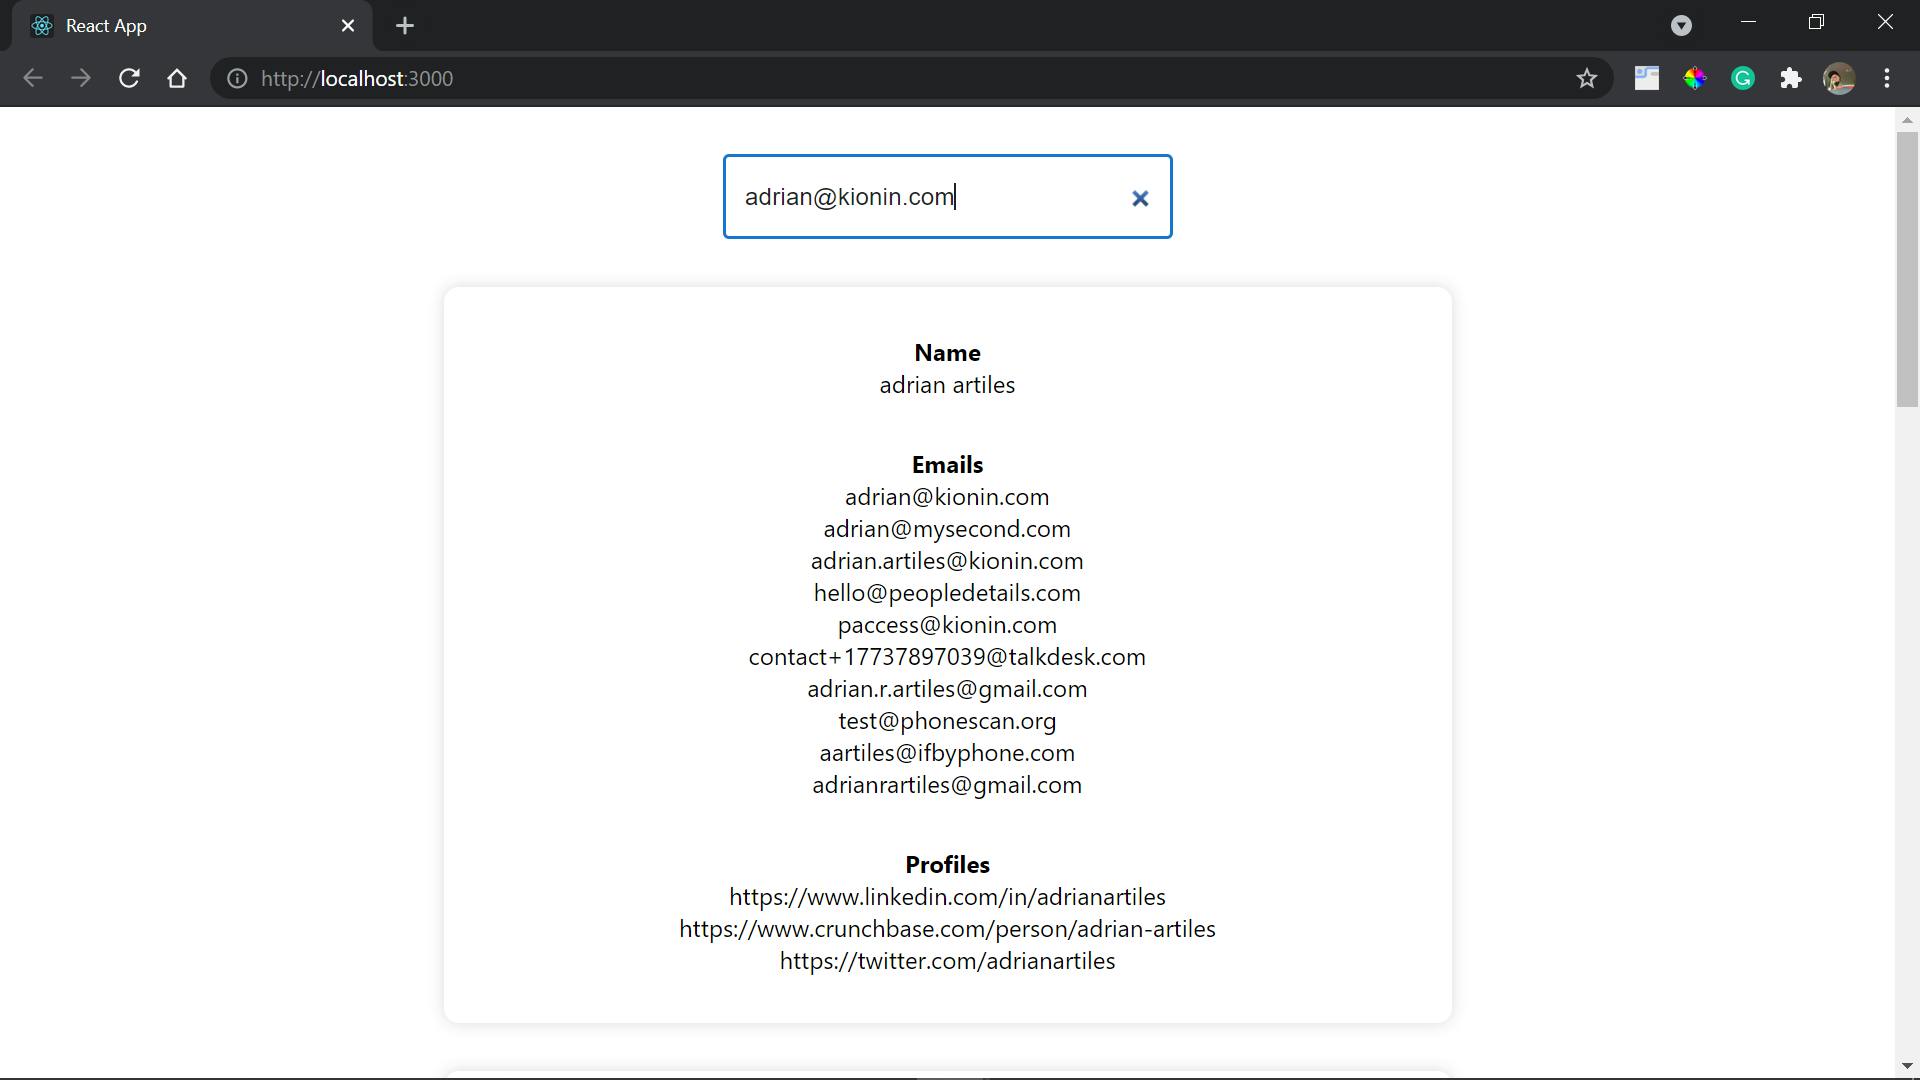
Next, we create a Card component to view our data:
import React from 'react'

const Card = ( {name, profiles, emails} ) => {
    return (
        <div
            style = {{
                margin: "1rem",
                padding: "1rem",
                boxShadow: "0 0 10px 0 rgba(0, 0, 0, .15)",
                borderRadius: "10px",
                width: "50vw",
                display: "flex",
                flexDirection: "column",
                justifyContent: "space-between",
                alignItems: "center"
            }}
        >
            <div style ={{textAlign:"center", margin: "1rem "}}>
                <h4>Name</h4>
                <p>{name}</p>
            </div>

            <div style ={{textAlign:"center", margin: "1rem "}}>
            <h4>Emails</h4>
            {   emails !== null && emails.length > 0
                    &&
                emails.map(email => {
                    return(
                        <p>{email}</p>
                    )
                })
            }
            </div>

            <div style ={{textAlign:"center", margin: "1rem "}}>
            <h4>Profiles</h4>
            {  profiles !== null && profiles.length > 0
                    &&
                profiles.map(profile => {
                    return(
                        <p>{profile.url}</p>
                    )
                })
            }
            </div>
        </div>
    )
}

export default Card
Finally, in our main view we make our API call and render out the data as cards:
import React, { useState } from 'react'
import Filter from '../components/Filter'
import axios from 'axios';
import Card from '../components/Card'

const KELVIN_KEY = process.env.REACT_APP_KELVIN_KEY

const emailData = [
    { email: 'mcdonnell.robert5@gmail.com'},
    { email: 'dwallach@gmail.com'},
    { email: 'amazingandyyy@gmail.com'},
    { email: 'swillison@gmail.com'},
    { email: 'adrian@kionin.com'},
    { email: 'holman.romero@sourcefabric.org'},
    { email: 'steve.durant@inflowmatix.com'},
  ];

const Landing = () => {

    const [result, setResult] = useState( [] )

    const getData = async (email) => {
        await axios.get(`https://api.kelvindata.com/rest/v1/search-v2?email=${email}&apiKey=${KELVIN_KEY}`,
            {
                'headers':{
                    Accept: 'application/json'
                }
            }
        )
        .then( res => {
            console.log(res.data)
            setResult(res.data)
        })
        .catch(err => console.error(err))
    }

    const handleInputChange= (event, value) => {
        //eslint-disable-next-line
        emailData.map(data => {
            if(data.email === value){
                getData(data.email)
            }
        })
    }

    return (
        <div style = {{
            display: "flex",
            flexDirection: "column",
            justifyContent: "center",
            alignItems: "center",
            width: "100%",
            padding: "2rem 0",
        }}>
            <Filter
                options = {emailData}
                cb = {(e, value)=>handleInputChange(e, value)}
            />

            {
                result.length > 0
                    &&
                result?.map((item) => {
                    return(
                        <Card
                            name ={item.name?.full}
                            emails = {item.emailAddresses}
                            profiles = {item.profiles}
                        />
                    )
                })
            }

        </div>
    )
}

export default Landing
Wrap up
And with that, we have come to the end of our quick introduction to the Kelvin Data API. Looking forward to what you build, feel free to ask any questions.